


Ultimate Guide to Apple Watch Band Installation Tools
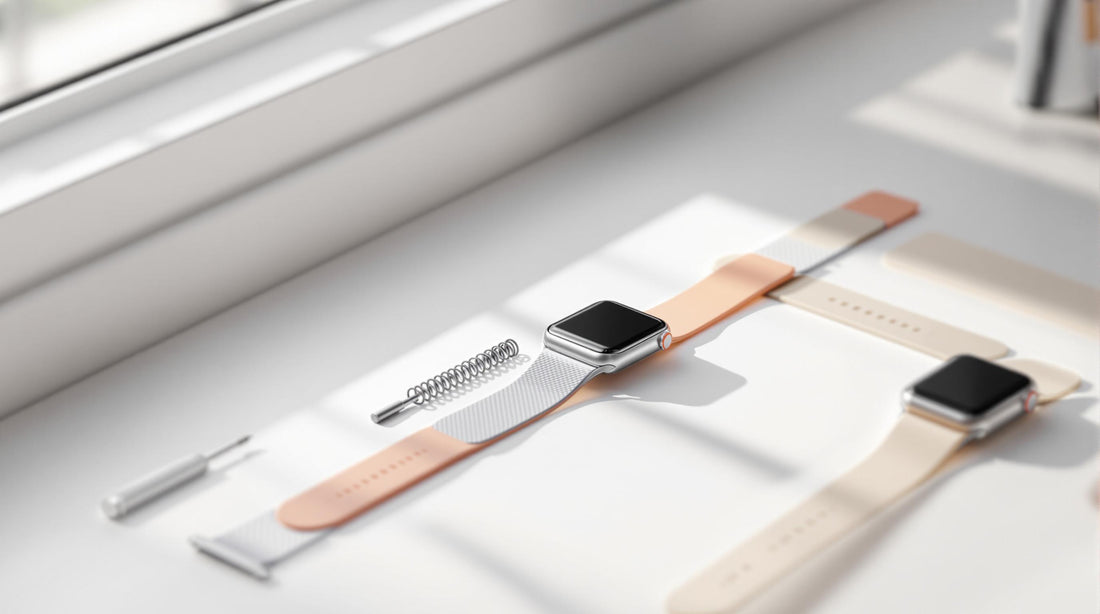
Apple Watch bands are designed for easy swapping, but using the right tools is essential to avoid scratches or damage. Here's a quick overview of what you need:
- Basic Tools: Band release tools, small screwdrivers, and cleaning tools like microfiber cloths.
- Specialized Tools: Metal link removal tools, leather punches, and ultrasonic cleaners for maintenance.
- Household Substitutes: Paper clips or eyeglass screwdrivers work in emergencies but should be used cautiously.
- Key Safety Tips: Work in a clean, well-lit area, avoid forcing parts, and double-check alignment.
For frequent band changes, investing in proper tools ensures a smooth and safe process. Below, we'll dive into the tools, techniques, and expert tips for maintaining and installing Apple Watch bands effectively.
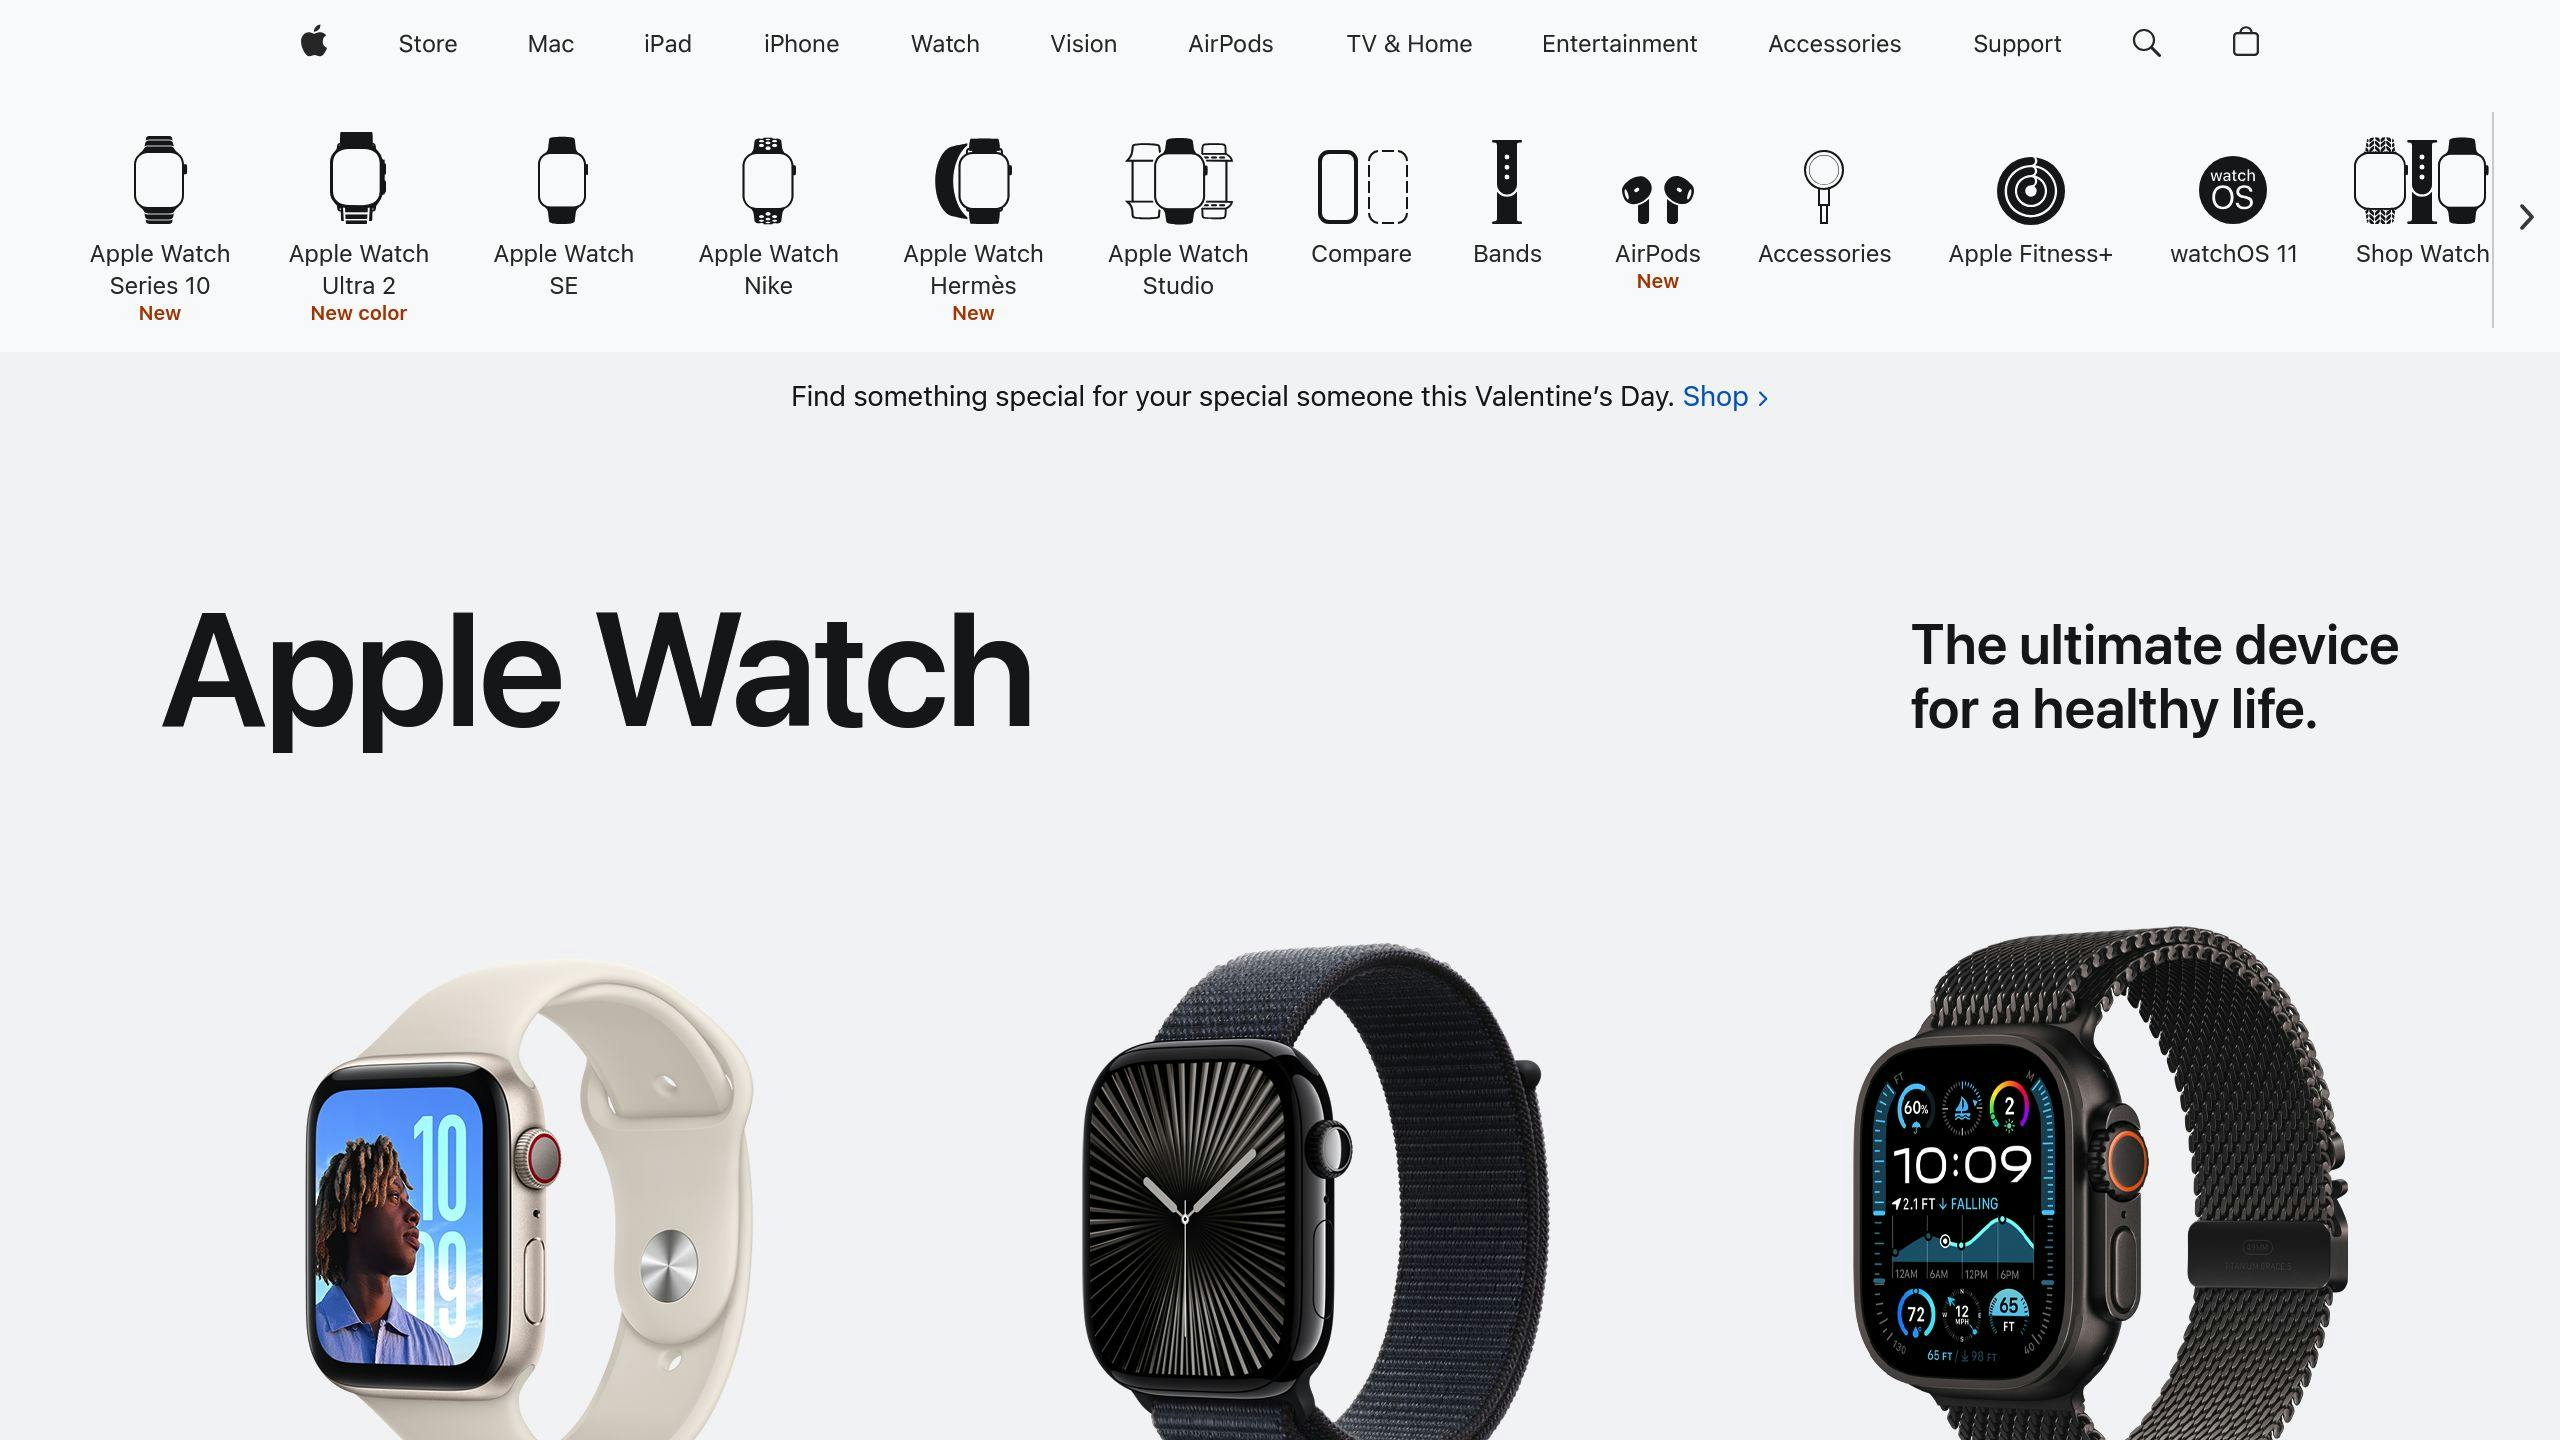
How to Install Your Own Apple Watch Strap with Apple Watch Adapters
Basic Tools for Band Installation
These tools are essential for a smooth and damage-free Apple Watch band installation, keeping your device in top condition.
Band Release Tool
This tool is a must-have for safely handling the band release mechanism on your Apple Watch. It helps press the release button and slide the band out without causing scratches or other damage.
"Never force a band into the slot. If you're having trouble removing or inserting a band, hold down the band release button again." - Apple Support
Small Screwdriver Set
If you're working with metal bands or those with adjustable links, a precision screwdriver set is indispensable. Look for a set with flat-head screwdrivers (0.8mm–1.6mm) and cross-head screwdrivers (1.4mm) tailored for watch screws. This prevents stripping screws or damaging the band during adjustments.
Cleaning Tools
To keep your watch and band spotless during installation, use tools like microfiber cloths, magnifying glasses, and anti-static brushes. These help remove dust and smudges, ensuring a clean and scratch-free process.
With these tools, you'll be well-prepared to handle basic band changes and even dive into more advanced adjustments or customizations.
Special Tools for Band Adjustments
For most Apple Watch band changes, basic tools will do the job. But when it comes to more precise adjustments, having the right specialized tools can make all the difference.
Metal Band Link Tools
Resizing metal bands is much easier with a metal link removal tool. These tools come with a sturdy pin-pusher and an adjustable platform. To use, secure the band in the tool, align it with the pin removal direction (usually marked with arrows), and apply steady pressure to push the pins out.
Leather Band Punch
If you need to add holes to a leather strap, a leather punch is the way to go. Look for one with multiple hole size options and a secure grip for precise results. Before punching, measure carefully and ensure proper spacing to avoid damaging the strap. Double-check your measurements to get the placement just right.
Metal Band Cleaners
To keep metal bands looking their best, ultrasonic cleaners are incredibly effective. These use sound waves to create tiny bubbles that clean hard-to-reach areas. They're perfect for maintaining both the appearance and functionality of your band.
"An ultrasonic will make short work of this bracelet. I just dropped it in with no pre-cleaning or scrubbing or wiping." [1]
With these tools, even intricate adjustments are manageable. Up next, we’ll look at how common household items can work as substitutes when you’re in a bind.
Household Tool Options
Sometimes, everyday items can step in for specialized tools when installing or removing an Apple Watch band. However, these makeshift solutions should only be used in urgent situations.
Everyday Substitutes
You can use a straightened paper clip or a small flathead screwdriver from an eyeglass repair kit as a temporary replacement for a band release tool. If using a paper clip, make sure it’s clean and fully straightened. The flathead screwdriver should only be used to press the release button - never for adjusting links or altering the band.
Safety Tips for DIY Solutions
To avoid damaging your watch, follow these precautions:
- Work in a clean, well-lit area.
- Thoroughly clean any tools before use.
- Use gentle pressure when pressing the release button.
- Stop immediately if you feel resistance.
Place your Apple Watch on a microfiber cloth to prevent scratches and keep it steady while working. These household tools can help in a pinch, but they aren’t suitable for routine band changes.
If you find yourself forcing a tool or encountering resistance, stop and consider using proper tools or seeking professional assistance. For frequent adjustments or handling high-end bands, investing in the right tools will protect your watch and make the process easier.
Next, we’ll look into how to select and maintain these professional tools.
Tool Selection and Care
Using household tools might work in a pinch, but if you want a smoother and safer process for installing watch bands, investing in professional tools and keeping them in good condition is the way to go.
Picking the Right Tools
Professional tools, like the Swiss Bergeon spring bar tool, stand out for their precision and durability - perfect for frequent band changes. When choosing tools, look for stainless steel construction, compatibility with your Apple Watch model, and ergonomic designs to ensure better control and ease of use.
Once you have the right tools, taking care of them is just as important to keep them performing well over time.
Tool Care Tips
Maintaining your tools properly helps them last longer and ensures they work consistently. Here’s how to keep them in top shape:
- Wipe tools clean after each use with a soft cloth to remove debris.
- Store them in a dry, organized space, ideally in a dedicated case.
- Apply a thin layer of oil to metal parts once a month to prevent rust.
- Regularly check for wear or damage and address any issues promptly.
Keeping your tools in good condition doesn’t just extend their life - it ensures they’ll always be ready for smooth and reliable band installations.
"Ensuring your much-loved watch straps remain in optimal condition requires a hands-on approach to maintenance and care." - BluShark Straps Team
sbb-itb-f6ade85
Band Installation Steps
Now that you've got the right tools, here’s how to install your watch band with ease.
Removing and Attaching the Band
Start by placing your watch face down on a microfiber cloth to avoid scratches. Press and hold the band release button on the back of the watch, then slide the band horizontally to remove it. To attach a new band, align it with the slot, slide it in until you hear a click, and gently pull to confirm it's locked in place.
"Ensuring a proper fit enhances both comfort and functionality."
Adjusting a Metal Band
For metal bands, use a link adjustment tool to push out the pins in the direction of the arrows on the band. Remove any extra links, keeping the removed parts in a safe place. Reassemble by reinserting the pins in the opposite direction and secure them with light tapping if necessary.
"If you don't feel comfortable doing this yourself, you can always take your Apple Watch band to a watch shop or jeweler and ask them to adjust the band to fit." - Epic Watch Bands
Safety Tips to Keep in Mind
- Avoid forcing parts if they don’t align properly.
- If the band feels stuck, clean the connection points with a bit of isopropyl alcohol.
- Always double-check that the band is securely attached before wearing.
If you experience any resistance during installation, stop and check the alignment. A well-fitted band should slide into place smoothly, without requiring much effort.
Once your band is installed and adjusted, take care to protect your watch and avoid common errors during the process.
Safety Tips
Watch Protection
To start, turn off your device to prevent accidental screen touches. Place the watch face down on a microfiber cloth in a well-lit area. This setup helps stabilize the watch and protects it from scratches. For extra cushioning, you can put a soft towel underneath the cloth.
"If it won't budge, don't try to force it. Better to take the watch in to an Apple Store to see if a Genius can help you than to be facing the cost of repairing a damaged watch and/or Apple Watch band..." - Brad Moon, Author
Even with these precautions, mistakes can happen. Here's how to avoid the most common ones.
Common Mistakes
Improper Cleaning: Before attaching new bands, clean the spring bar holes with a small amount of glass cleaner. Skipping this step can lead to scratches on the watch case and potential damage to the crown.
Forcing the Band: If the band doesn’t slide in smoothly, check the alignment and ensure the release button is fully pressed. Forcing a misaligned band can cause damage.
Incorrect Orientation: Double-check the band's orientation before installation. The design should face outward, and the attachment mechanism should align correctly with the watch’s connection points. Installing it incorrectly can lead to a poor fit or even damage the connectors.
For those handling spring bars, take extra care to avoid scratching the watch or losing small parts.
"The great thing about using dental floss is that it's a readily available tool and it poses no risk of scratching on the watch band or watch case." - BluShark Straps
This method is especially helpful for beginners looking for a safer option.
Conclusion
Using the right tools and techniques is crucial for installing and maintaining Apple Watch bands effectively. Quality tools not only make the process easier but also help prevent accidental damage.
"By taking the time to adjust your watch band properly, you'll not only ensure a comfortable fit, but also enhance the overall appearance and functionality of your timepiece." - Barton Watch Bands
Material-Specific Tips
Different band materials require tailored care and maintenance:
| Band Type | Maintenance Tips |
|---|---|
| Metal | Clean monthly with a soft brush to remove dirt and debris. |
| Leather | Condition regularly and keep away from water to prevent damage. |
| Silicone | Wash with soap and water for easy upkeep. |
Understanding these material-specific needs can help you maintain your watch band’s appearance and longevity.
Expert Advice
To make your installation process smoother, here are some additional tips:
"Changing the band on an Apple Watch personalizes and enhances the device." - SimplyMac
- Start with basic tools if you're new to band installation, and gradually expand your toolkit.
- Handle tools gently to avoid scratching or damaging the watch.
- Take your time - precision matters more than speed.
Key Reminders
- Check that your tools are compatible with your specific Apple Watch model.
- Work in a clean, well-lit area to avoid losing small parts or making mistakes.
- Store tools in a dry place to prevent rust or wear.
- Replace tools as needed to ensure they remain effective.
Investing in the right tools and caring for them properly can make all the difference. Whether you're a beginner or a seasoned pro, careful preparation and maintenance are essential for a smooth and successful band installation.
Friday: Apple Watch Bands and Tools
If you're looking to upgrade your Apple Watch with stylish bands and easy-to-use tools, Friday (fridaystyle.in) is a go-to option.
Band Options and Pricing
Friday offers a wide variety of bands to suit different needs and styles. Whether you prefer silicone for workouts, leather for a polished look, or metal for durability, there’s something for everyone. Prices start at ₹199 for basic designs and go up to ₹999 for more premium materials, making it easy to find quality options at different price points.
Tools and Installation Help
Friday provides tools that make installing or adjusting your watch bands simple and hassle-free:
- Metal Band Tools: Designed for precise link adjustments on metal straps.
- Leather Punch Tools: Perfect for customizing the fit of leather bands.
- Installation Guides: Step-by-step instructions tailored to different band types.
Their compatibility guides ensure you pick the right band size and style for your specific Apple Watch model, avoiding any sizing or installation headaches.
Band Materials and Uses
Here’s a quick breakdown of the materials and their standout features:
| Material Type | Features | Ideal For |
|---|---|---|
| Silicone | Water-resistant, durable | Active lifestyles |
| Nylon | Breathable, lightweight | Outdoor activities |
| Leather | Sleek, polished look | Professional settings |
| Metal | Adjustable, sturdy | Business wear |
| Magnetic | Easy to swap | Everyday convenience |
Quality and Customer Support
Friday combines stylish bands, user-friendly tools, and expert advice to make customizing your Apple Watch simple and stress-free. Their tools are specifically crafted to work with their bands, reducing the risk of damage during adjustments or installation.
With Friday’s collection, upgrading your Apple Watch becomes an effortless and enjoyable process.
FAQs
What can I use instead of a spring bar tool?
If you don’t have a spring bar tool on hand, some common household items can work as temporary substitutes for removing your Apple Watch band. Here are a few options:
| Alternative Tool | How It Works |
|---|---|
| Dental Floss | Loop it around the spring bar and pull gently. It's soft and won’t scratch your watch. |
| Credit Card | Use an old card to carefully wedge between the band and the case for leverage. |
| Dull Razor Blade | Apply very light pressure to nudge the spring bar. Use this only if no other option is available. |
| Small Knife | Handle with extreme caution. This should be your absolute last resort. |
"Using a spring bar tool is one of the most effective ways to remove or replace your watch band, but if you don't have one, worry not. We've got you covered."
When using any of these alternatives, place your watch face-down on a soft, clean surface to avoid scratches or damage. Work slowly and carefully - these methods are best for emergencies and should not replace proper tools.
"The great thing about using dental floss is that it's a readily available tool and it poses no risk of scratching on the watch band or watch case." – BluShark Straps
For those who frequently change their watch bands, investing in a proper tool is a smart move. Specialized retailers like Friday (fridaystyle.in) offer tools designed for safe and efficient band changes, making the process much easier in the long run.